Seed Starting: Demystified
December 19, 2025 | By TigreBlume
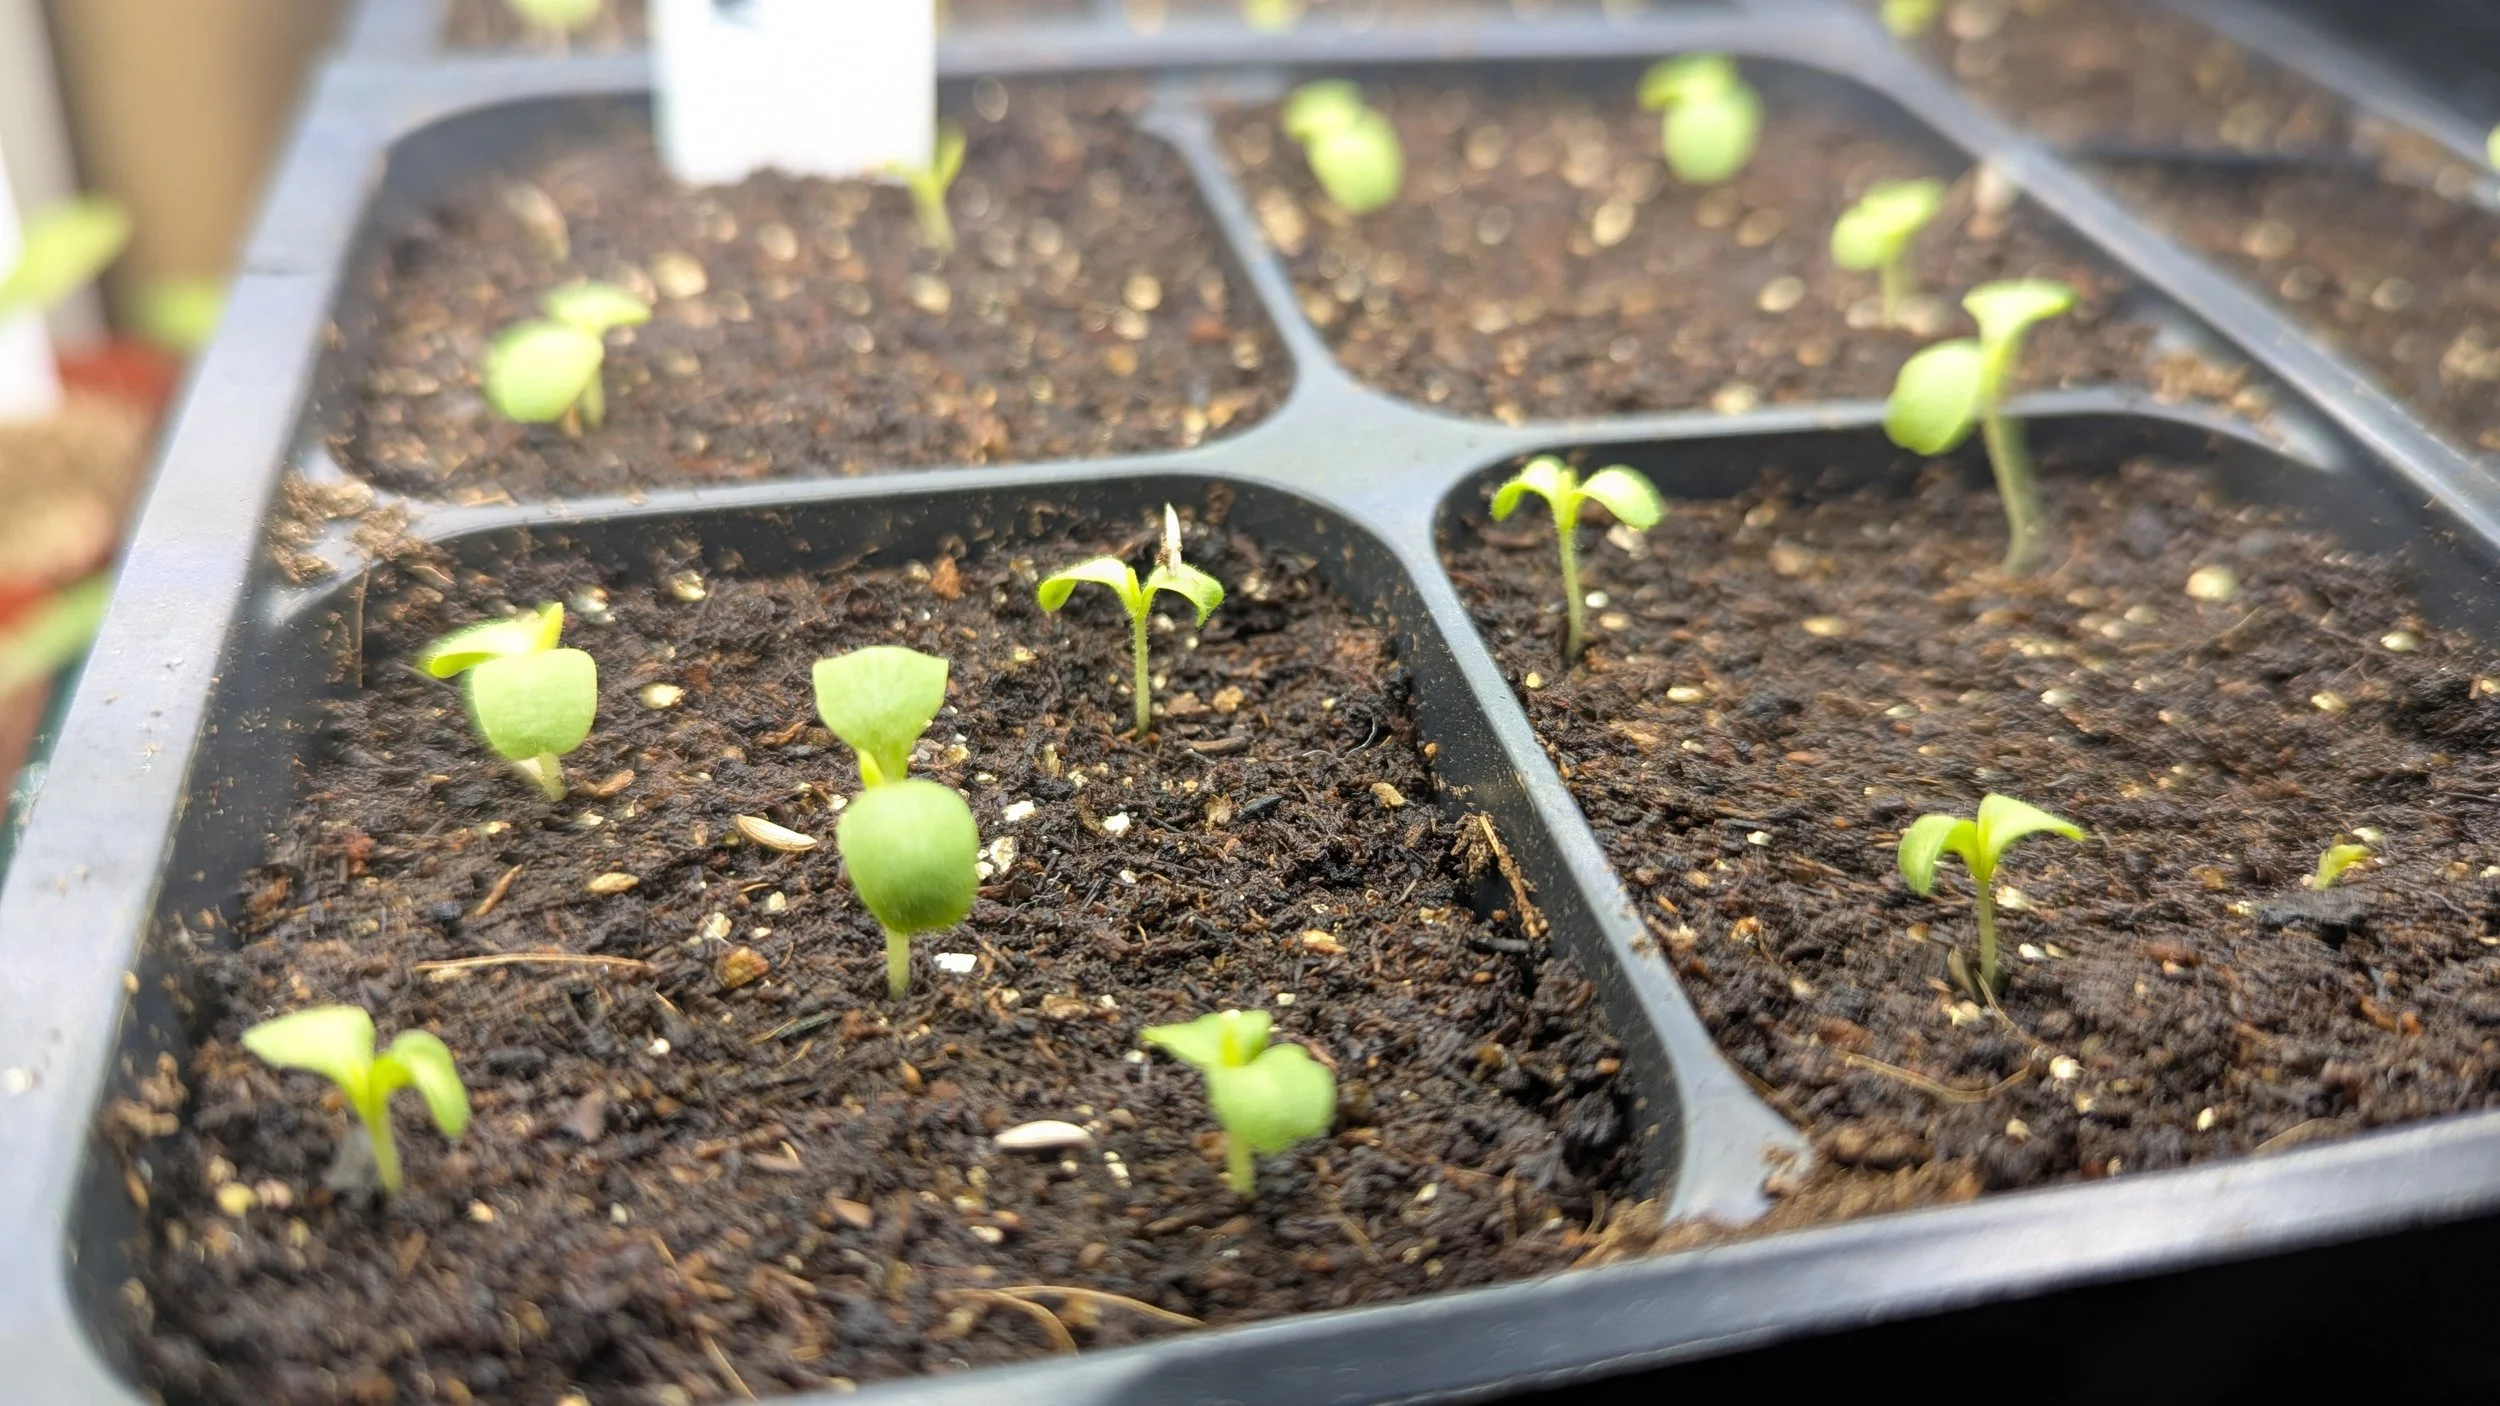
2025 Seed Starting | TigreBlume
I don’t know about you, but there is something magical about watching a tiny, dormant speck of life transform into a vibrant sprout. Indoor seed starting is more than just a head start on the season; it’s a masterclass in patience, timing, and nurturing. Whether you’re staring at an empty seed tray for the first time or looking to refine your current setup, the journey begins long before the last spring frost.
Seed starting is as much an art as it is a science, and every gardener learns through experience. That said, the right setup is a game-changer and significantly reduces the learning curve and ensures more consistent results.
In this post, I’ll be covering the most essential things you should consider when starting seeds - from soil prep to hardening off - to help you transform seeds and sprouts into a thriving, high-yield garden next season.
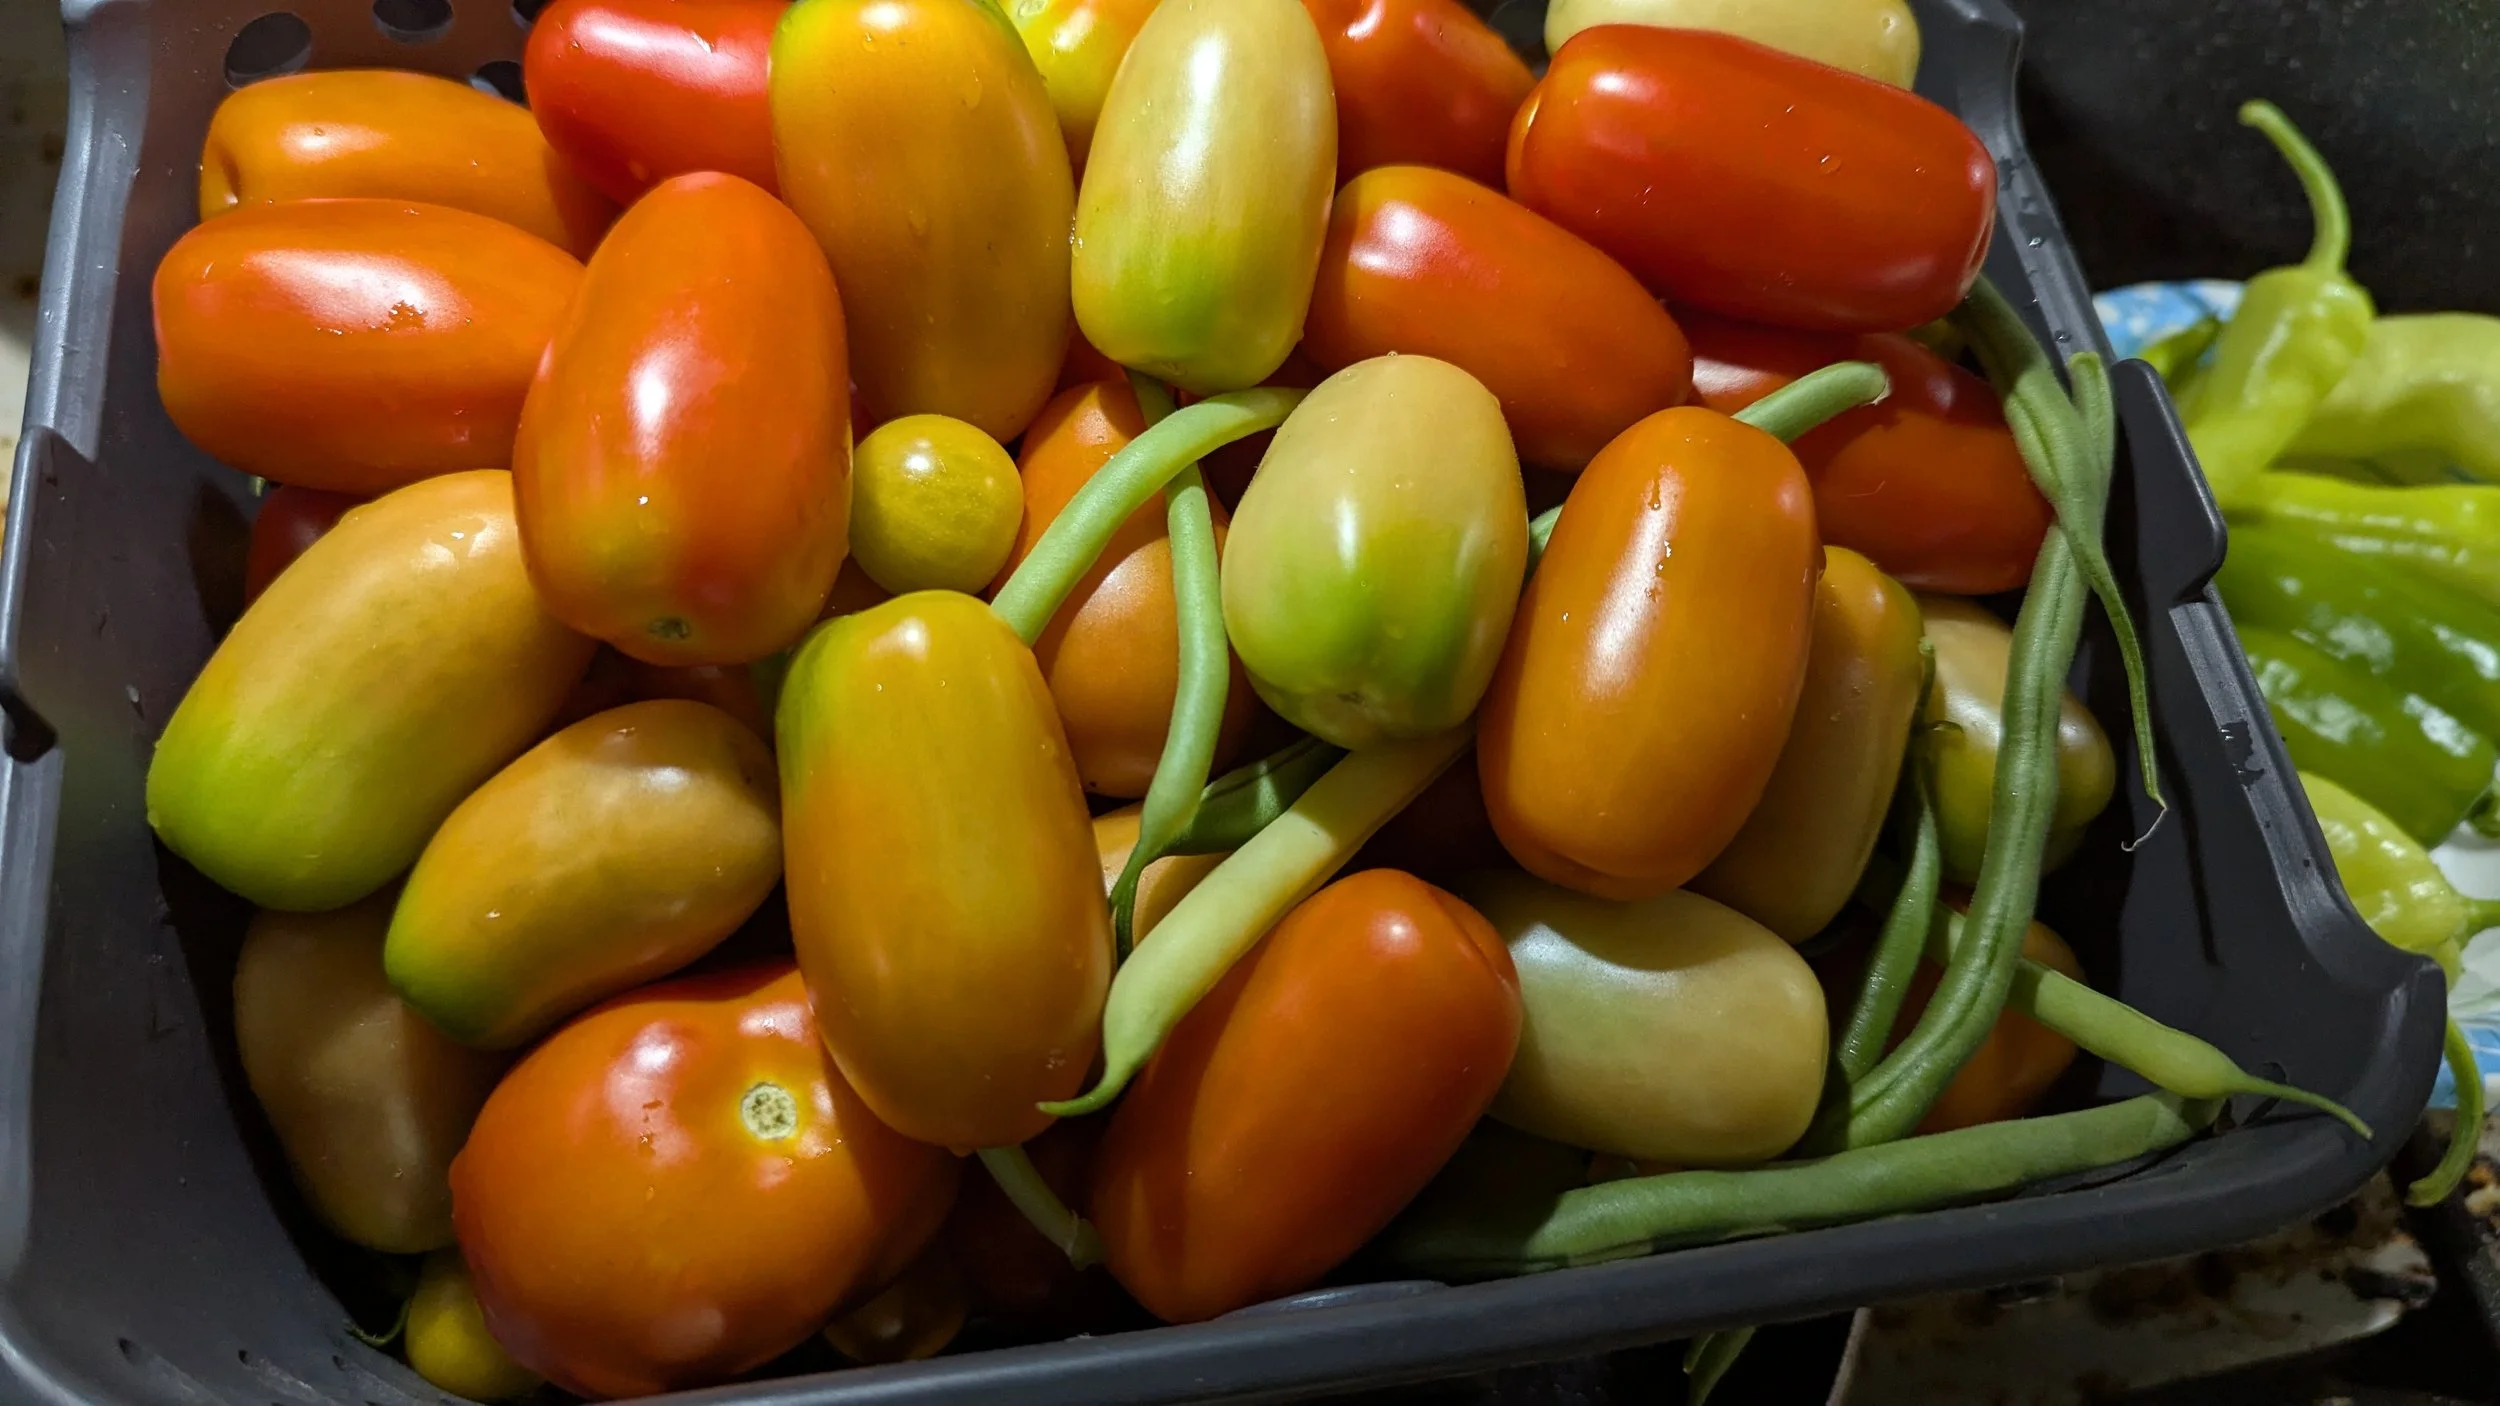
2025 Harvesting | TigreBlume
Topics Covered in this Post:
The Foundation (Containers & Soil)
The Sowing Process (Depth, Labeling, Moisture)
The Life Support (Light & Heat)
Maintenance & Care (Watering, Air Flow & Feeding)
Potting Up (How and When)
Indoor Seed Starting Calendar (Establishing a Schedule)
The Foundation
Before you can get growing, you’ll need to ensure you have the right foundational tools - specifically a high-quality seed starting mix, appropriate containers, and humidity domes to lock in moisture.
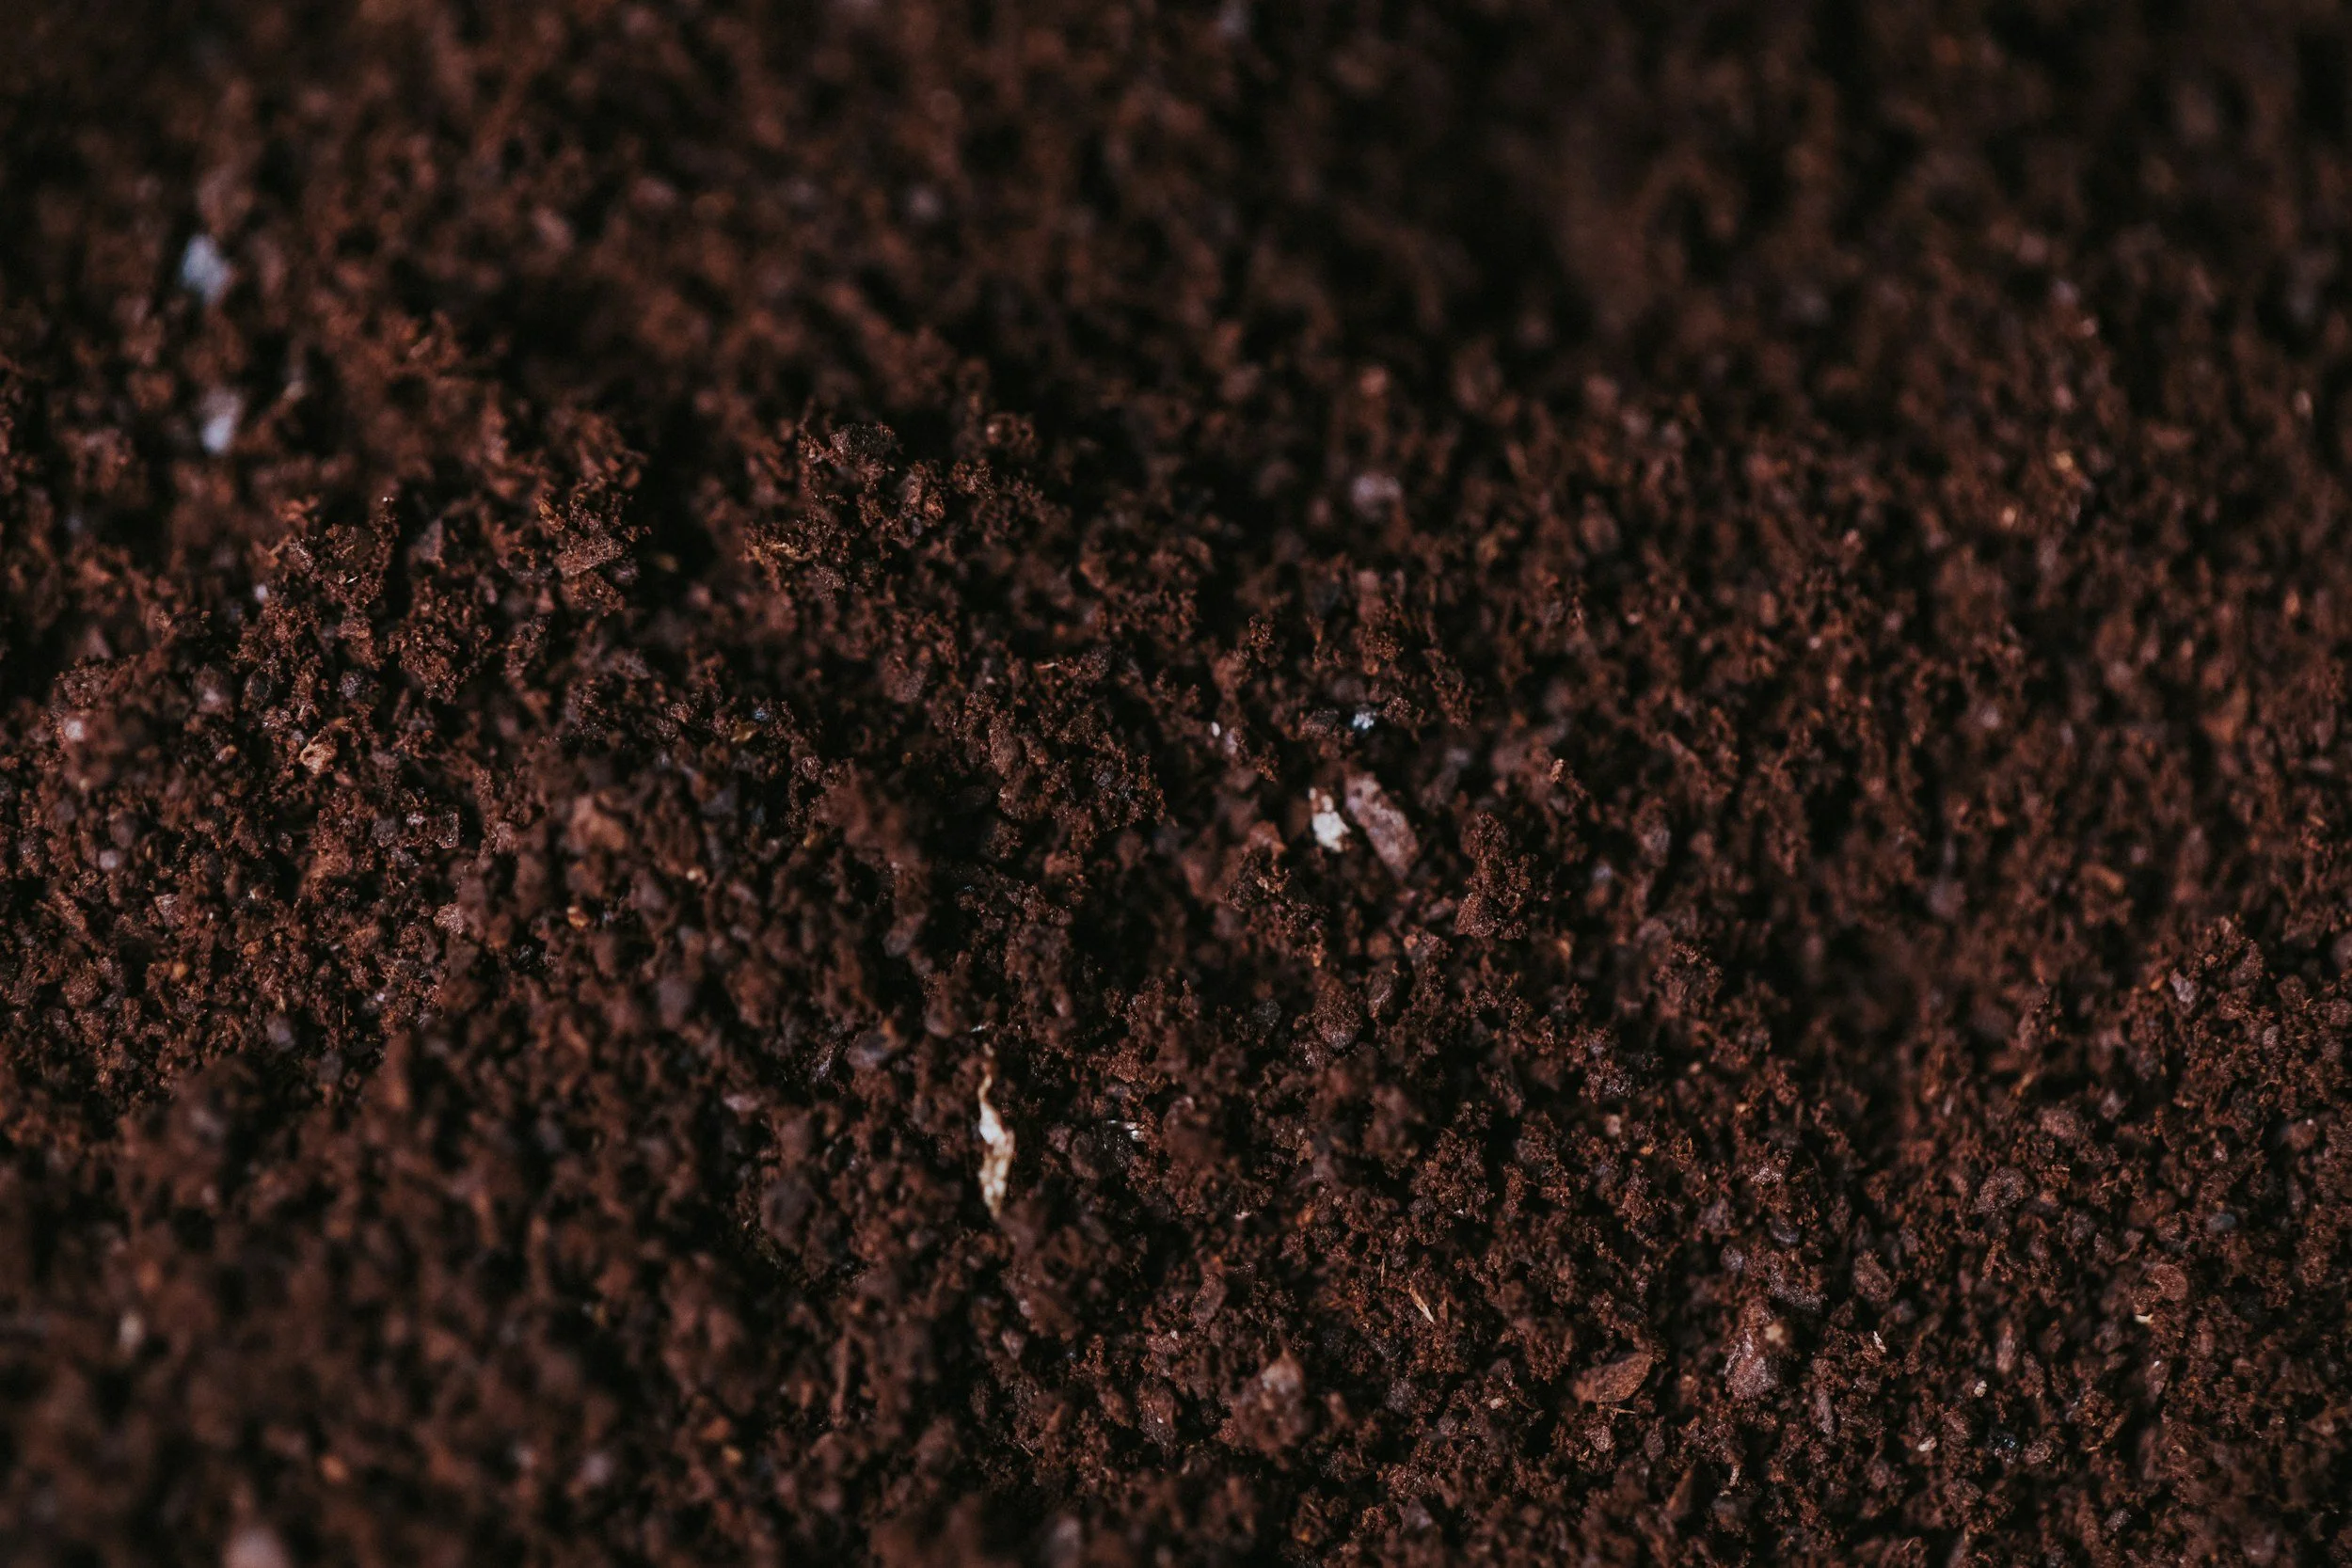
Seed-Starting Mix: Avoid standard potting soil; it’s usually too heavy for delicate new roots. Look for a "soilless" mix (usually peat or coconut coir based) that is sterile and light.
$Money saving tip$: Alternatively, you can make a batch of sterile seed starting mix by combining peat moss or coco coir, perlite (for aeration), and vermiculite (for moisture retention) using a 1:1:1 or a 2:1 ratio. However, keep in mind this has no nutrients for your seedlings, so if you intend to keep you seedlings in this mix for more than 2 weeks, consider adding sifted compost or worm castings.
Trays or Cells: You can use specialized multi-cell plastic trays (e.g., 6, 12, 36, 72) or biodegradable peat pellets or pots to start your seedlings.
$Money saving tip$: Alternatively, you can use what you have on hand, such as yogurt cups, disposable drinking cups, or egg cartons (just be sure to poke drainage holes in the bottom!). I also use shallow take out containers when multi-sowing certain type of seeds. These are also great for those who use soil blocks for seed starting.
Humidity Domes: These are clear plastic covers that fit over your seed starting trays to trap moisture and warmth until the seeds germinate.
$Money saving tip$: Alternatively, you can use saran wrap or zip lock type bags to cover your seed starting trays.
The Sowing Process
Once your supplies are ready, the sowing process itself requires attention to three critical details that can make or break your success: proper planting depth, clear labeling, and consistent moisture.
Depth: Follow the instructions on your seed packet. Otherwise, a simple rule of thumb is to plant a seed twice as deep as it is wide.
Labeling: Label your seedlings immediately so you don't forget what you planted days or weeks later.
Pro-Tip: Create label markers before you start sowing seed and insert the label into the tray right after you’ve sown the seed (and before moving on to sow another seed). This will make the labeling process much more efficient and you won’t run the risk of forgetting to create a label or remembering where to place each label.
Pro-Tip: Use a waterproof marker to write on your label markers. Standard sharpie markers have a tendency to fade when they get wet on a consistent basis.
Moisture Management: Always pre-moisten your mix before sowing seeds in it, especially if your soil is mostly comprised of peat and coco coir. Peat and coir are "hydrophobic" when bone-dry and will repel water at first. I usually mix it in a large bowl with warm water until it feels like a wrung-out sponge.
Pro-Tip: Once you plant your seeds in the soil, use a spray bottle to avoid washing away tiny seeds.
**Note: In a separate post, I’ll provide tips on how best to determine when to start sowing your seeds, as well as a few additional things you’ll want to consider ensure successful seed germination.**
The Life Support
To maximize germination and prevent spindly growth, automate your setup with a quality light source, bottom heat, and a timer to ensure your seedlings receive consistent care.
Full-Spectrum Grow Lights: While a sunny window might seem like a great idea, most seedlings need 12–16 hours of consistent, overhead light to prevent them from becoming "leggy" (tall and weak).
$Money saving tip$: Rather than invest in an expensive branded set of grow lights, you can use shop lights (LED or T5 fluorescent), which are commonly sold at your local hardware or seed and feed store. Just make sure they are in the 5,000 - 6,000 (Kelvin) color temperature range and the appropriate length for your shelving unit or growing space.
Heat Mats: Most seeds, especially "warm-weather" crops like peppers, tomatoes, and eggplants, require consistent soil temperatures between 70 - 80 degrees Fahrenheit to germinate. By keeping the soil at an optimal temperature, you’ll see faster sprouts and a much higher germination success rate. You can position heat mats under your trays to raise the soil temperature.
$Money saving tip$: If you don't have a heat mat, try placing your trays in the warmest spot in your house or on top of your refrigerator. Most refrigerators vent a small amount of heat from the condenser coils out the back and top. This creates a "microclimate" that is often 5-10 degrees Fahrenheit warmer than the rest of the room.
Pro-Tip: Once the seeds have sprouted and have their first set of leaves, the heat mat should usually be turned off or the seedlings moved to another spot. Seedlings prefer cooler air once they are actually growing to prevent them from getting too "leggy" or stressed.
Light Timer: Consistency is the key to healthy plant growth, and seedlings generally need 12–16 hours of light per day followed by a period of darkness to "rest." A simple plug-in timer automates this cycle for you, ensuring your plants never miss a "sunny day" if you’re late getting home or forget to flip the switch in the morning.
$Money saving tip$: A timer also ensures you aren't wasting electricity (and money) during hours when the plants don't actually need it.
Maintenance & Care
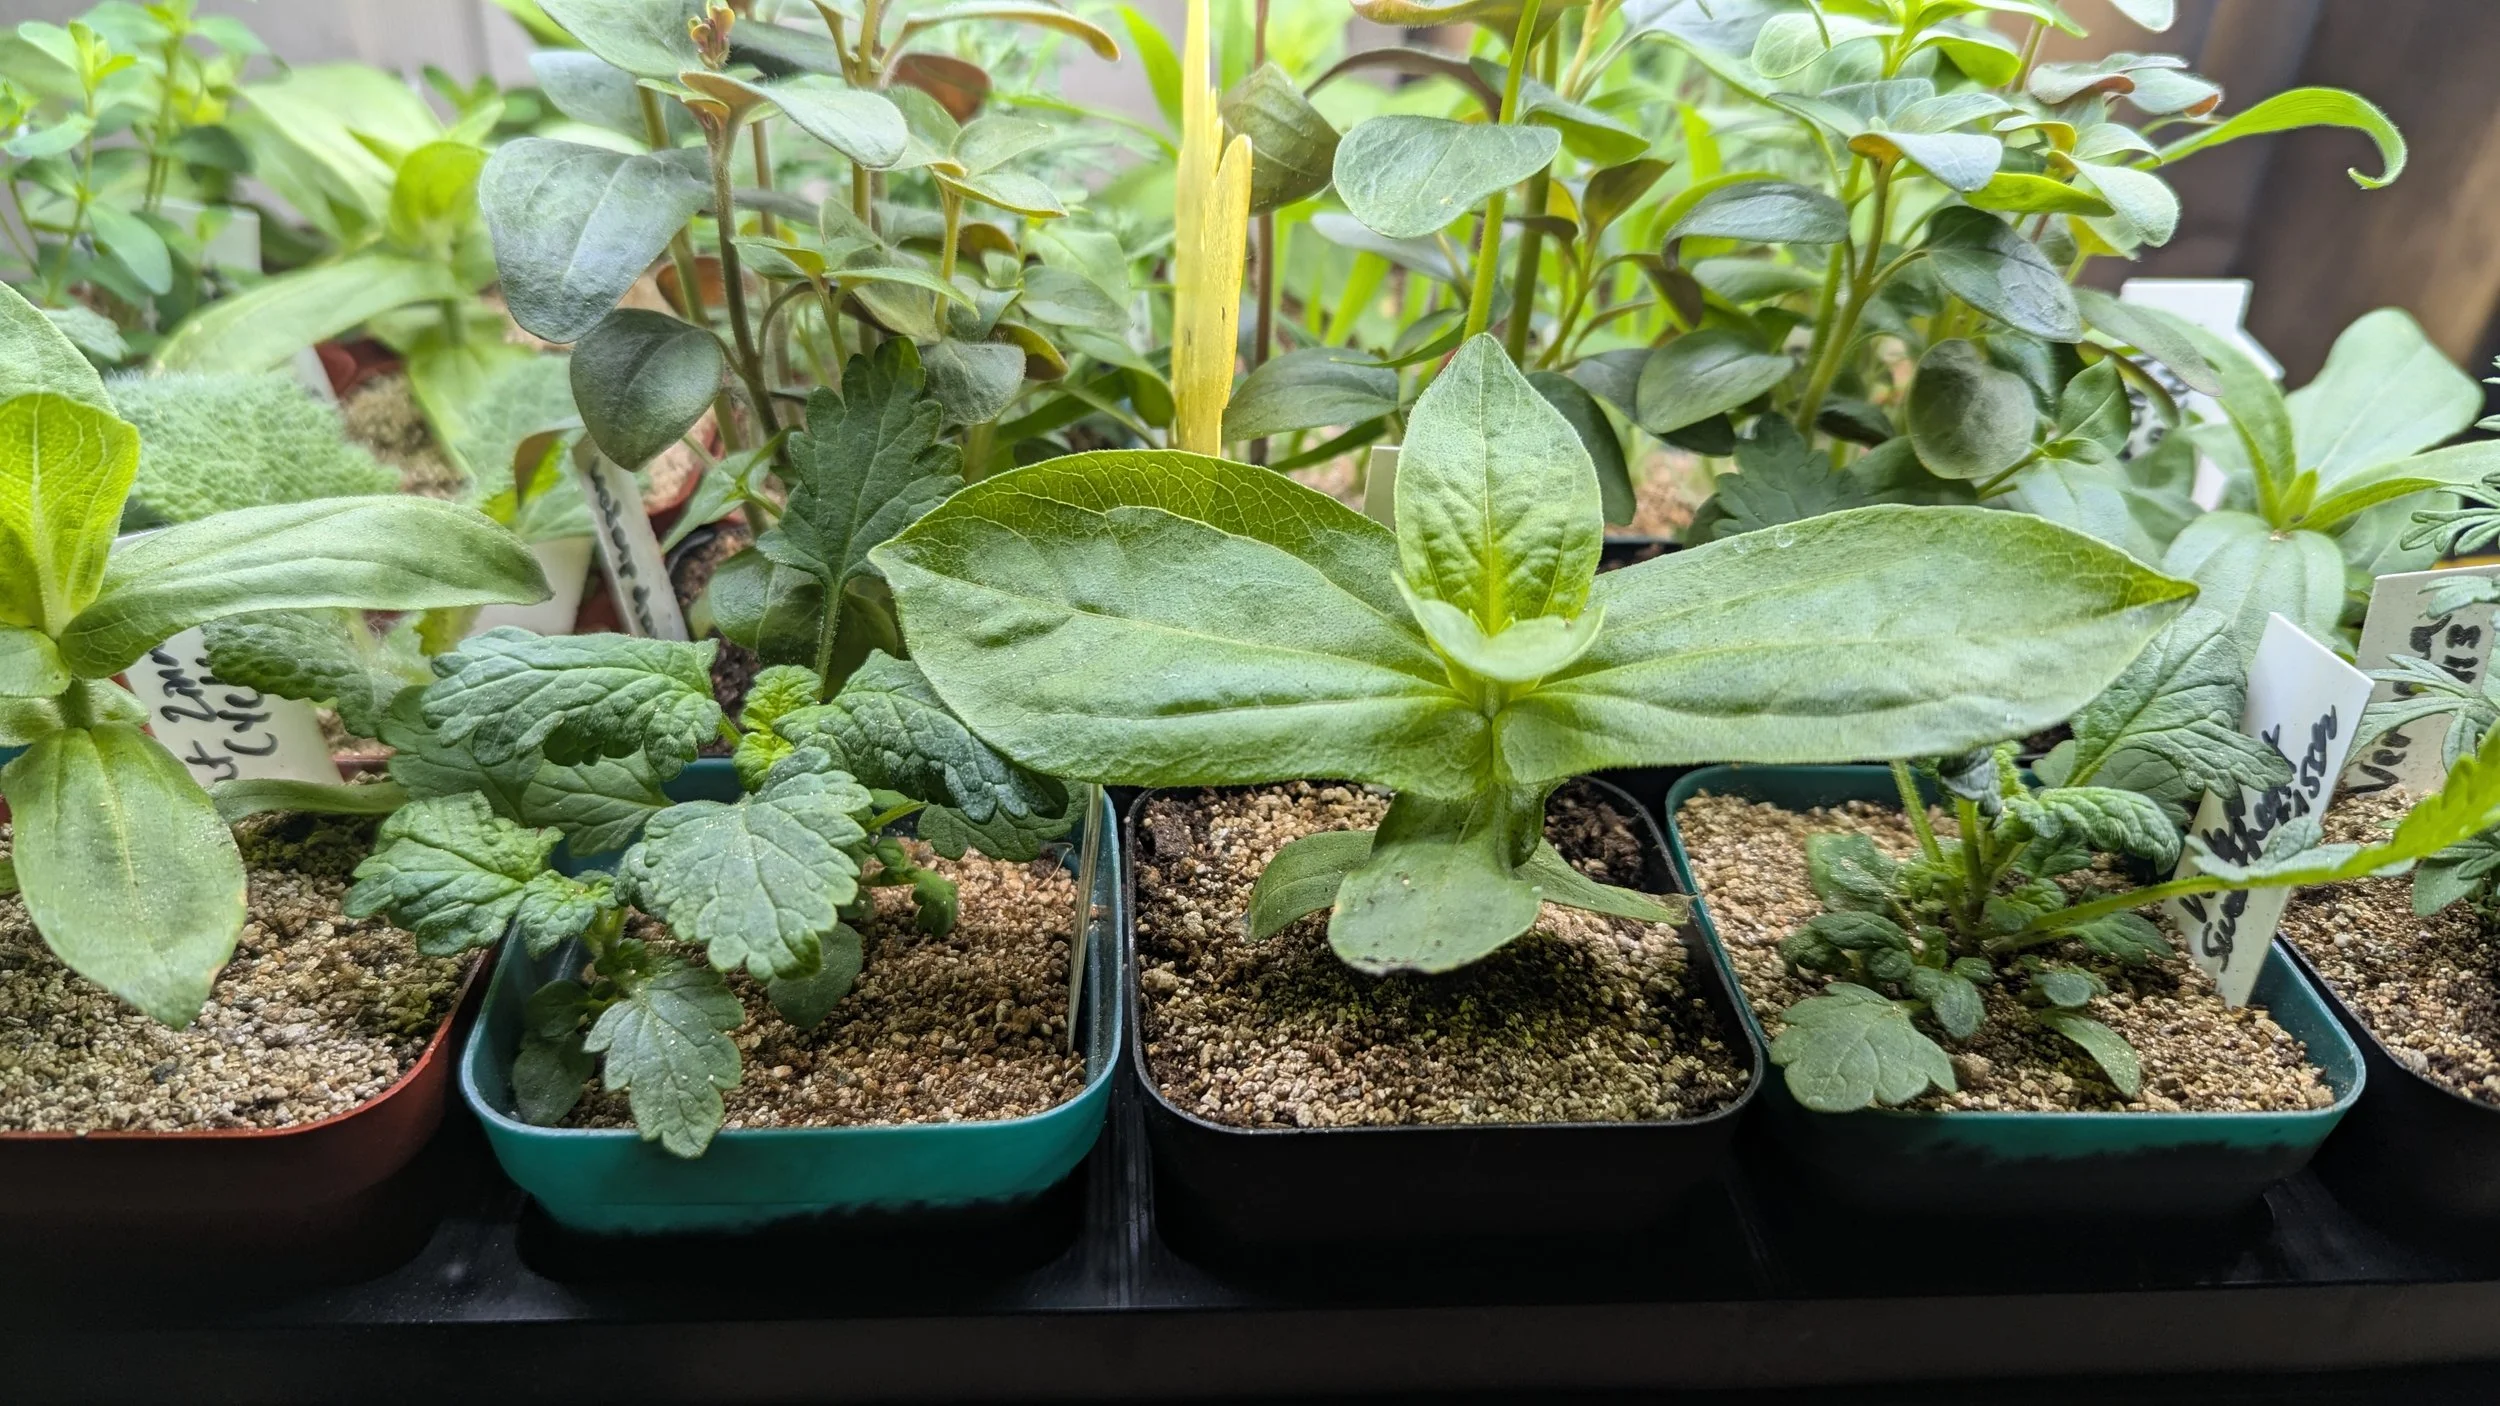
Once those first green loops emerge from the soil, your role shifts from 'planter' to 'caregiver,' where managing water, airflow, and nutrition becomes the key to raising garden-ready plants.
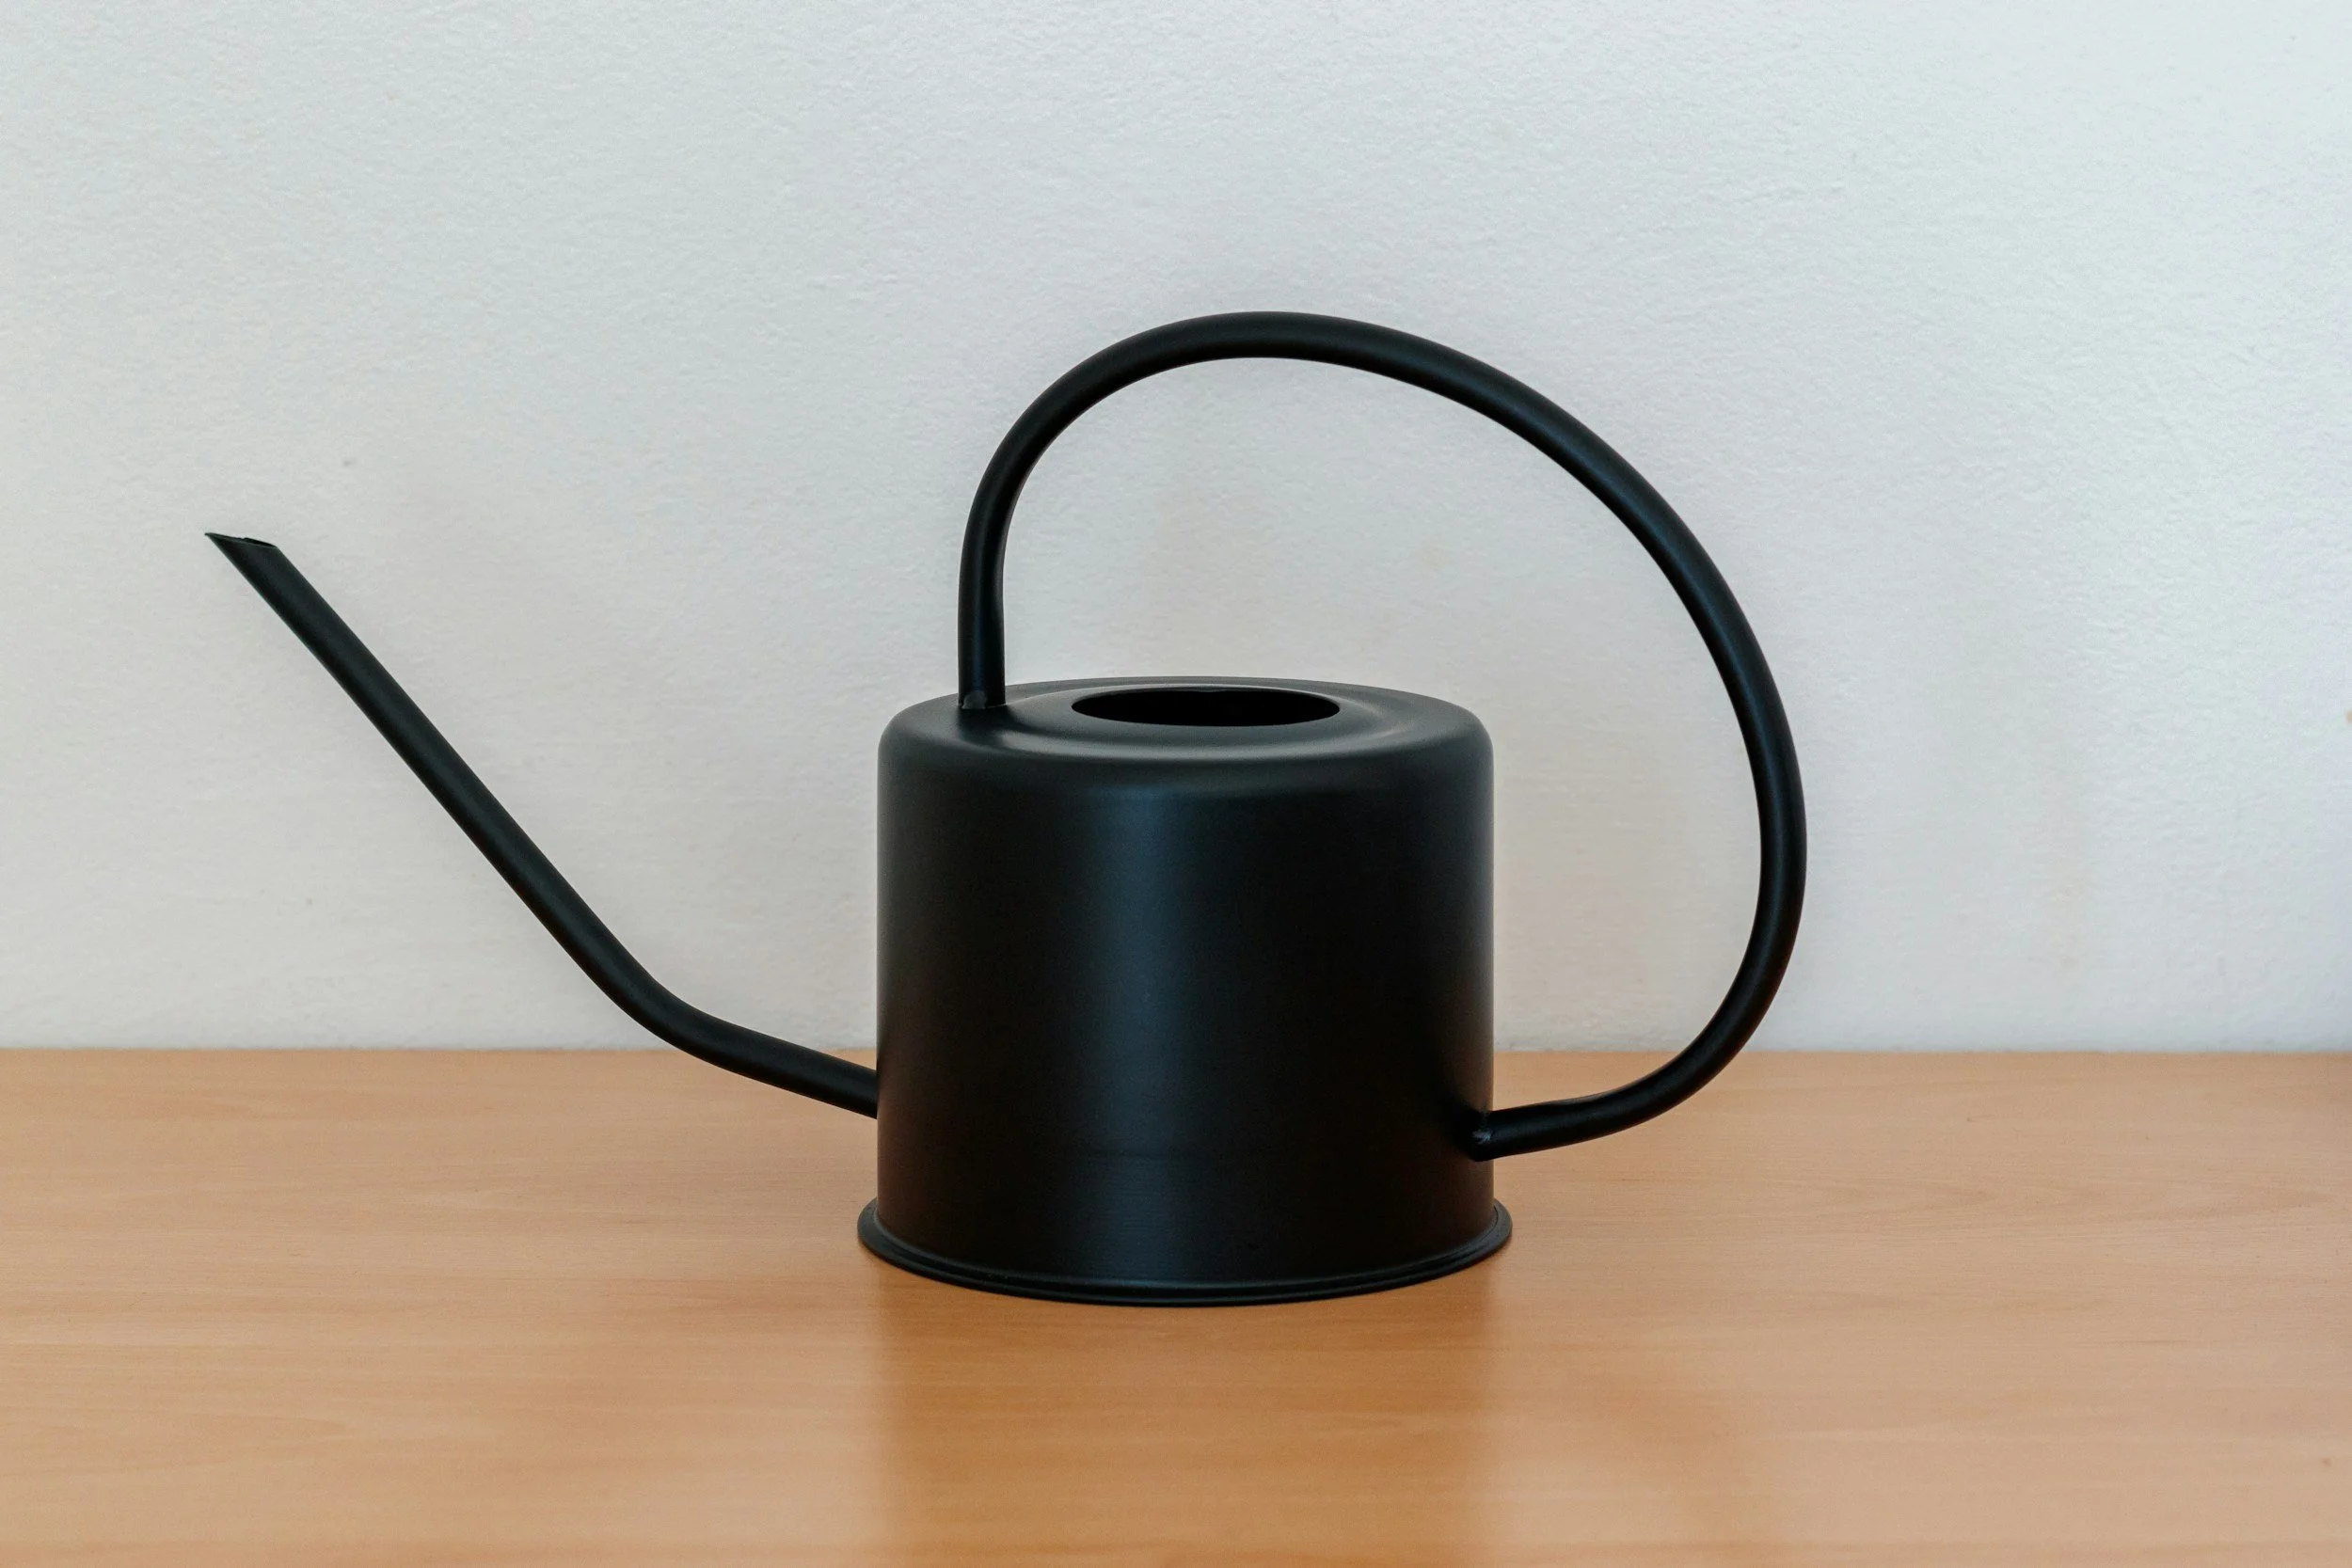
Watering Can or Mister: It’s best to use a spray bottle for the early days (to avoid washing away seeds) and a small-spouted watering can/bottle for bottom-watering later on. Bottom watering is the process of pouring water into a tray and letting the soil "wick" it upward through the drainage holes. This prevents "damping off" (a fungal disease), encourages deep strong roots, protects fragile seedlings, and deters pests (e.g., fungus gnats).
Oscillating Fan: A small fan provides air circulation to prevent "damping off" (a fungal disease) and strengthens the stems by mimicking a breeze.
Thinning: If you planted multiple seeds per cell, you should thin them out once they are about 2 inches tall.
Pro-Tip: If your goal is to have one seedling per cell, you can either use small scissors to snip the stem of the smaller weaker-looking seedlings at the soil line or gently separate the seedlings and plant the extras in their own cells.
Feeding: Once the plants have their "true leaves" (these are the second set of leaves that look like the adult plant, not the rounded "seed leaves"), they need some nutrients. At this point, you can give your plants a water-soluble fertilizer diluted to 1/4 or 1/2 strength. You can apply via bottom watering every 7–10 days.
Potting-Up
As your seedlings continue to thrive, they will eventually outgrow their nursery trays and require 'potting up' into larger containers with fresh potting mix to support their expanding root systems.
Larger Pots: When your seedlings outgrow their tiny starter cells but aren't quite ready for the garden, you can move them to larger pots such as 4-inch, 6-inch or larger size containers - depending on the plant type and how long you intend to keep them in there prior to transplanting outdoors.
Potting Mix: When “potting up”, consider using a potting soil mix rather than a seed starting mix. Potting mix usually contains slow-release fertilizers, which provides the nitrogen, phosphorus, and potassium (NPK) plants need to build a strong stem and lush leaves. Without these nutrients, seedlings can turn yellow and stop growing.
Pro-Tip: You should up-pot into potting mix when you see true leaves, roots starting to circle the bottom of the starter cell or the plant has stopped growing / beginning to look pale or yellow.
Indoor Seed Starting Calendar
Creating an indoor seed starting calendar is the difference between a garden that survives and a garden that thrives. Because every plant has a specific biological "countdown" to maturity, a calendar acts as your master blueprint to ensure nature and timing stay in sync.
Here is why a calendar is an essential tool:
Prevents "The Crowding Crisis": Without a calendar, it’s easy to start everything at once. While tomatoes and peppers look small in March, by April they will be massive.
The Benefit: A calendar staggers your start dates. You’ll start your slow-growing onions in January and your fast-growing zinnias in April, ensuring your grow light setup isn't overwhelmed all at once.
Syncs Growth with Local Weather: Plants are highly sensitive to soil temperature and frost. If you start a tomato too early, it becomes "root-bound" (its roots circle the pot and choke the plant) before it's warm enough to go outside. If you start it too late, you miss out on weeks of harvest.
The Benefit: A calendar uses your Average Last Frost Date as "Day Zero," ensuring your plants are at their peak physical strength exactly when the weather is safe.
Maximizes Your Harvest Window: Many crops, like broccoli or peas, hate summer heat. If they aren't in the ground early enough, they will "bolt" (go to seed) and become bitter.
The Benefit: A calendar helps you calculate the "Days to Maturity," allowing you to time your planting so crops harvest during their preferred temperature window.
Removes "Decision Fatigue": Spring is the busiest time for any gardener. Between soil prep, weeding, and seed starting, it’s easy to forget a specific variety.
The Benefit: A calendar tells you exactly what to do each Saturday morning. You don't have to think - you just look at the chart and sow the seeds designated for that week.
The "Count Back" Seed Starting Calendar
Establishing a schedule isn’t just about being organized. Plants are very finicky; if you start them too early, they become stressed and stunted; if you start them too late, they may never produce fruit before the first frost of autumn.
Check out my Seed Starting Calendar Template (see snippet below) if you’re looking for a very simple way to map out when you should start your seeds indoors.

This automated template allows you to map out your entire spring/summer garden - from the earliest slow-growers like onions and celery to the heat-lovers you sow directly into the soil.
To use the template, find your Average Last Frost Date (e.g., April 15th) by doing a Google Search and enter this date into last frost date field on the template. The specific dates for each weekly milestone (e.g., 16 weeks, 10 weeks, etc.) are automatically calculated based on the last frost date. You can print and affix it next to your seed starting area for quick reference.
If you’d like to download my Free Seed Starting Calendar Template, sign-up below and join the “TigreBlume In The Garden” community to get your copy!
***Tips for Using This Template
Group Seeds based on Start Date: If you want to keep it real simple, don’t try to track seed start dates for every plant individually. Instead, group them by their target start date.
Tip: I usually start by organizing my seed packets into separate piles (e.g., 16 weeks, 12 weeks, 10 weeks, etc.) and use index cards to represent each weekly milestone. Once I have divvied up all of my seed packets into different piles, I collect and store all the seed packets for each individual weekly milestone. I typically use a plastic storage box or container to store them until I am ready to start sowing seeds. You could also use a shoebox or small cardboard box. Then, as I approach each weekly milestone – I grab the pile of seed packets tagged for that specific week. Easy, peasy! This is by far the simplest technique that I have tried – and it saves me so much time.
Account for Succession Planting: For crops like lettuce, spinach, or radishes, don't just mark one start date if you want to have a continuous supply. Schedule "succession sows" every 2-3 weeks. This ensures a steady harvest throughout the season rather than a massive amount all at once.
Frost-Free Buffer: Even if your calendar says the last frost is April 1st, the soil might still be cold. For tender crops like tomatoes, peppers, basil, and cucumbers, wait until night-time temperatures are consistently above 50 degrees Fahrenheit before transplanting outdoors or direct sowing.
Hardening Off: 10 days before your transplant date, you should begin moving your indoor seedlings outside for a few hours at a time to get them used to the sun and wind.
Use your digital calendar on your phone, tablet or computer to set reminders for each weekly milestone (e.g., Start 12 Week Seed Starts).
2025 Seed Sprouts | TigreBlume
Final Thoughts
Starting your own seeds can feel like a daunting task at first. By following these simple steps - from choosing the right soil to hardening off - you aren't just growing plants, you’re growing confidence. So, grab your trays, pick out your favorite varieties, and get started. There is no feeling quite like seeing that first green sprout break through the soil!
Happy Seed Starting!
***If you’d like to download my Free Seed Starting Calendar Template, sign-up below and join the “TigreBlume In The Garden” community to get your copy!***